How to use RustFS for files storage in Nuxt?
Learn how to add RustFS to Nuxt for S3 file storage and prepare your app for an easy move to AWS S3 later.
If you are building a web app that needs to grow, S3 storage is one of the best ways to handle files and user uploads. It keeps file storage separate, makes things easier to manage, and stays ready to scale as the product grows.
In this example, we used RustFS as a free, open-source storage solution that works like S3 and fits the business need of our Nuxt application really well. It gave us a budget-friendly way to handle assets early in the project and made future growth easier, because moving to AWS S3 or another storage provider later was a few clicks.
Why did storage become a problem in our app?
As you may know, we’re building an internal app to help team with the writing process. The main part of it is a Markdown editor, where writers can create content in one place. Since it often includes media, the tool also needs to handle them together with text.
Milkdown, supports this out of the box, so adding them to a document was easy. When an image was pasted into the editor, it was stored as a base64 string instead of a URL.
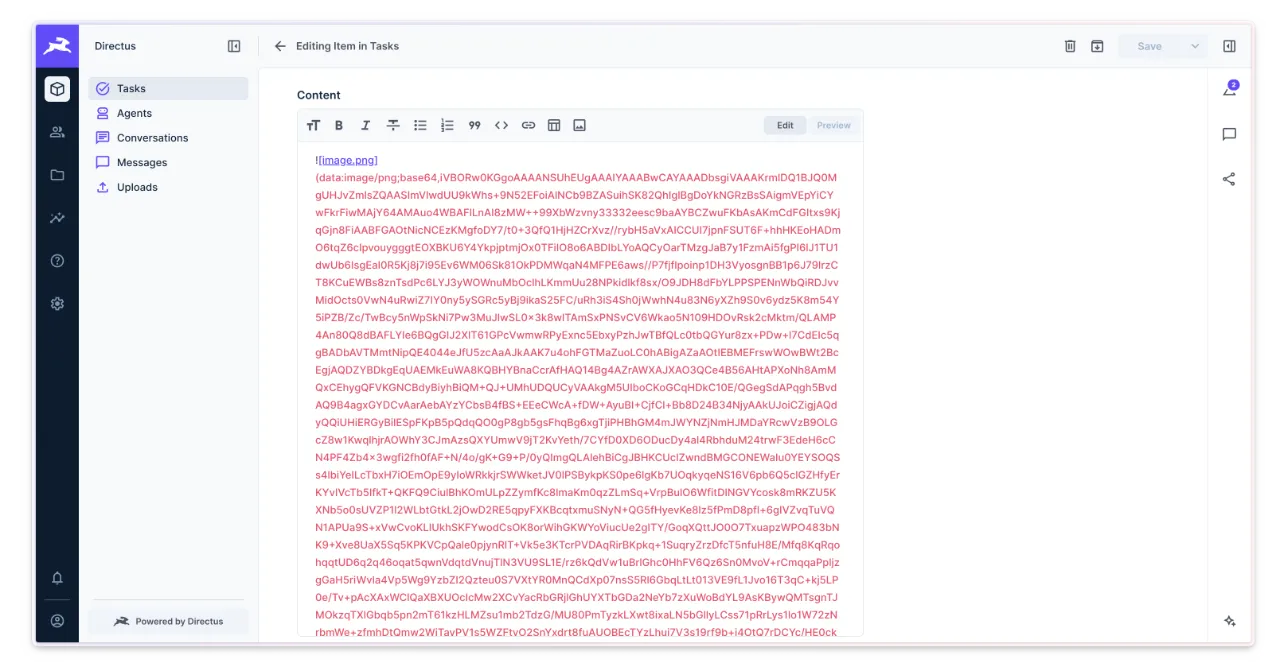
This was okay for writing, but it became a problem for storage. Even small images turn into very long base64 strings. Because the whole document is stored in a single field, those strings were saved together with the text. After adding just a few images, a document size grew fast. On top of that, the database returns all of it on every read, risking the performance issues. That led us toward a real storage system.
What is RustFS?
We needed three things from a storage layer. It had to be cheap enough for an MVP, easy to run in Docker next to the app, and compatible with S3, so a later move to another provider would stay simple. RustFS meets all three. It is an object storage server that speaks the S3 API, ships as a Docker image, and comes with an admin panel in the browser that helps manage assets for system owners.
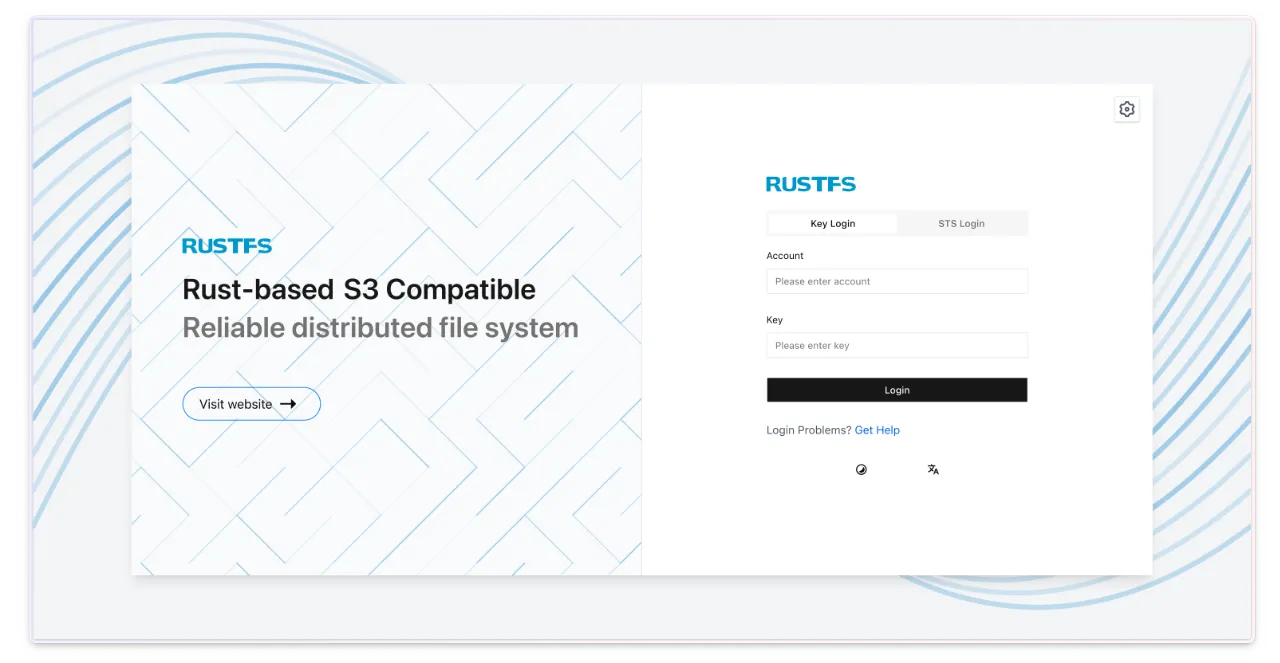
The app talks to it the way it would talk to AWS S3, and the files sit in a folder on our own disk. A later change to other providers like AWS S3 means switching the credentials in the variables, and that is it. It provides the S3-compatible API with localhost:9000 and a web panel for administrators with localhost:9001.
When to use RustFS?
RustFS is a good self-hosted alternative to AWS S3 when you want S3-compatible storage without adding cost. That makes it a strong fit for smaller apps, side projects, or projects in development phase that don’t have a final environment ready yet.
It is especially useful when you want the same storage interface in local development and production, but do not want local work to depend on a remote bucket. In those cases, RustFS can run locally in Docker and provide similar behavior on each machine.
We used this setup in a Next.js application built for on of our clients with Payload and PostgreSQL hosted on Railway. In production, Payload stores files in a Railway bucket. For local development, we run RustFS so developers can work with the same S3-style flow without sending files to the staging or production bucket.
How to initialize RustFS?
RustFS runs with Docker, and the installation is easy. We added a storage service to the docker-compose.yml file, mapped two ports, and mounted a volume on the device so the files remain available when the container stops. Then we set credentials to access the web admin panel in the browser and to initialize the S3 client in the code.
It is worth adding a health check so other dependent services wait until this one starts. Also, add the storage directory to .gitignore so Git does not track its contents.
name: coditive-space

services:
  storage:
    container_name: coditive-space-storage
    image: rustfs/rustfs:latest
    restart: unless-stopped
    ports:
      - "9003:9000"
      - "9004:9001"
    volumes:
      - ./storage:/data
    environment:
      RUSTFS_ROOT_USER: ${S3_KEY}
      RUSTFS_ROOT_PASSWORD: ${S3_SECRET}
    healthcheck:
      test: ["CMD", "curl", "-f", "http://localhost:9000/health"]
      interval: 5s
      timeout: 5s
Docker Compose files can load values from .env, so set them there and reference them in the config instead of using plain values. We need to set a bucket name, the key, and the secret. The region can be any string because the SDK requires one to satisfy the S3 contract, while RustFS runs in a single location and ignores it. The endpoint is the address the app uses inside Docker to reach the service.
S3_ENDPOINT=http://storage:9000
S3_BUCKET="YOUR_BUCKET_NAME_HERE"
S3_REGION="fra1"
S3_KEY="YOUR_KEY_HERE"
S3_SECRET="YOUR_SECRET_HERE"
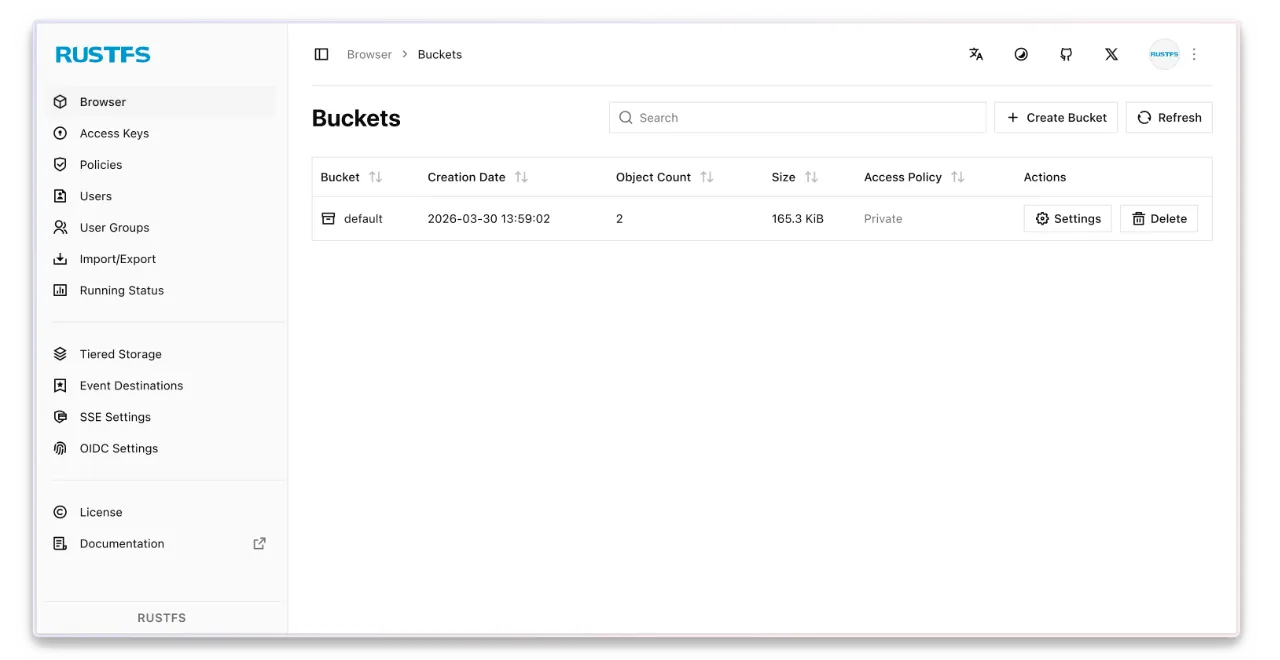
Once the setup is complete, start the Docker container and open localhost:9004 in your browser to access the admin panel. Log in using the key and secret set in the configuration, then create a bucket with the same name you set in the .env file.
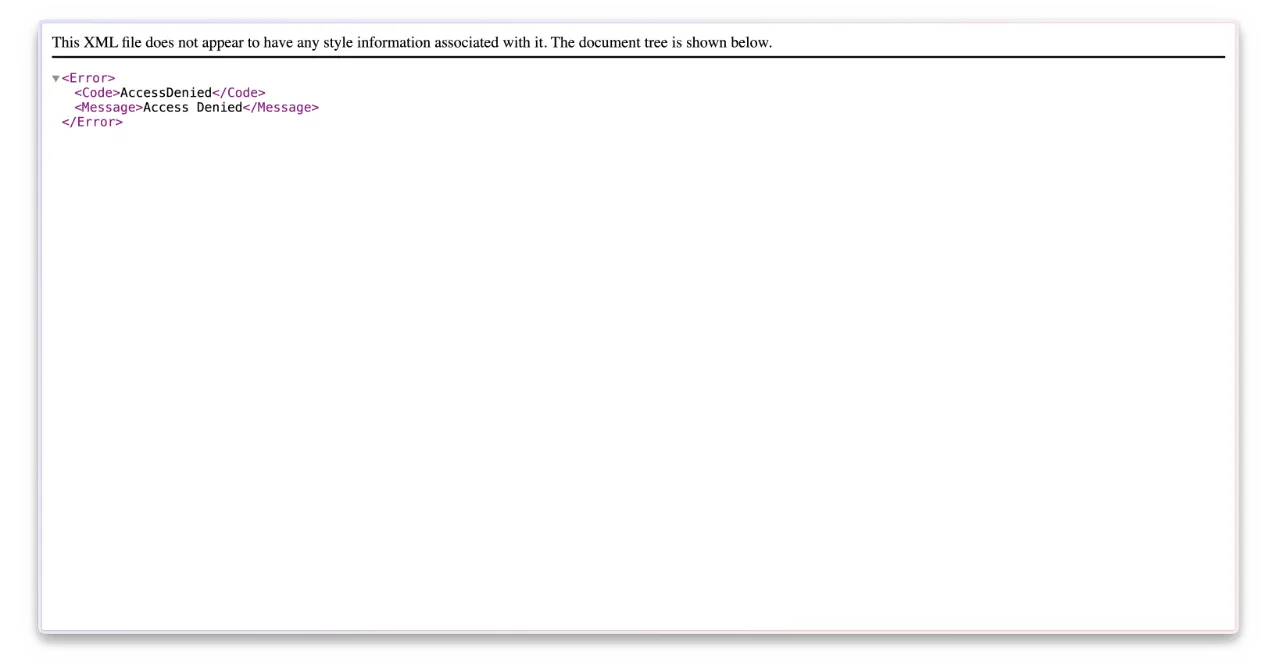
Open localhost:9003, where the S3 API responds, and you can quickly see whether the service is running. For now, it shows an access denied error, but that is because we have not pasted the credentials yet. We will handle it when integrating S3 SDK in Nuxt.
How to integrate RustFS with Nuxt?
The requirement for the app is simple: one place for every static file. In the editor, that means a pasted image goes to storage first, and the Markdown content keeps its address instead of a base64 string.
We must create application types to define the shape of uploads, a server composable that connects to the S3 adapter, a REST endpoint to handle file operations from users, a route so the server can return results, and a client composable to reuse file mechanisms in the browser. The change tree looks like this:
frontend
├── app
│   └── composables
│       └── useUploads.ts
├── server
│   ├── api
│   │   └── uploads
│   │       ├── index.delete.ts
│   │       └── index.post.ts
│   ├── composables
│   │   ├── useS3.ts
│   │   └── useUploads.ts
│   └── routes
│       └── uploads
│           └── [id].get.ts
└── types.ts
This guide follows the layered model described in our Nuxt architecture article. Read that first if the layers below look unfamiliar. The layers earn their place here because only one file may know that S3 exists, and everything above it works with an upload.
Configuration
First, we need to provide S3 configuration. The Nuxt config reads five environment values for the S3 connection and keeps them under the private runtime key, where only the server can see them. It also takes the maximum upload size because the app should control how large the files users can upload are.
export default defineNuxtConfig({
  runtimeConfig: {
    maxUploadSize: parseInt(process.env.NUXT_MAX_UPLOAD_SIZE || "0"),

    s3: {
      endpoint: process.env.NUXT_S3_ENDPOINT || "",
      bucket: process.env.NUXT_S3_BUCKET || "",
      region: process.env.NUXT_S3_REGION || "",
      key: process.env.NUXT_S3_KEY || "",
      secret: process.env.NUXT_S3_SECRET || "",
    },
  },
});
Types
With the configuration ready, we define the shape of the data that stores file details as a Upload type. It ensures that each layer follows the same definition and hides external dependencies behind adapters. Each file in the current state of our application must have an id, valid url, type, and name.
export type Upload = {
  id: string;
  url: string;
  type: string;
  name: string;
};
S3 Adapter
Now, create an adapter that connects to S3 using the S3 JS SDK and provides three functions, one for each operation we can perform on a file: upload, read, and delete.
The S3 client is initialized with runtime config and sets the path style because RustFS serves a bucket as a path, while AWS serves it as a subdomain. This client can then be used for other S3 operations.
import { S3Client } from "@aws-sdk/client-s3";

export default function useS3() {
  const { s3, maxUploadSize } = useRuntimeConfig();

  const client = new S3Client({
    endpoint: s3.endpoint,
    region: s3.region,
    credentials: {
      accessKeyId: s3.key,
      secretAccessKey: s3.secret,
    },
    forcePathStyle: true,
  });

  return {};
}
To upload a file within such an adapter, we need the file name, the file contents as a buffer, and the file type. The function checks all of them with Zod before doing anything else, for example, to verify whether the format is allowed or whether the file size matches the limits. If everything looks good, it passes the file to S3 and returns the key, which is used as a file identifier, for example, in a URL.
Be aware, the file is always saved as private, so no one with a bucket URL can read it directly. The documents users create, whether text or images, should remain private.
import { PutObjectCommand } from "@aws-sdk/client-s3";
import { z as zod } from "zod";

export default function useS3() {
  const uploadFile = async (
    key: string,
    body: Buffer,
    type: string,
  ): Promise<string> => {
    const data = zod
      .object({
        key: zod.string().regexp(/^[0-9a-f-]{36}$/),
        body: zod
          .instanceof(Buffer)
          .refine((item) => item.byteLength < maxUploadSize * 1024, {
            message: `File must be smaller than ${maxUploadSize / 1024}MB`,
          }),
        type: zod.enum(["image/jpeg", "image/png", "image/webp"]),
      })
      .parse({ key, body, type });

    await client.send(
      new PutObjectCommand({
        Bucket: s3.bucket,
        Key: data.key,
        Body: data.body,
        ContentType: data.type,
        ACL: "private",
      }),
    );

    return data.key;
  };

  return { uploadFile };
}
That key is how storage knows the file from now on, so the other two functions start from it. When we need to get a file back from S3, the getFile function takes the key, asks storage for that file, and gives back its bytes with the type, which is everything a browser needs to show an image. When storage has nothing under that key, it gives back nothing, and the layer above turns that into a 404.
import { GetObjectCommand } from "@aws-sdk/client-s3";

export default function useS3() {
  const getFile = async (
    key: string,
  ): Promise<{ data: Uint8Array; type?: string } | null> => {
    const response = await client.send(
      new GetObjectCommand({ Bucket: s3.bucket, Key: key }),
    );

    if (!response.Body) {
      return null;
    }

    return {
      data: await response.Body.transformToByteArray(),
      type: response.ContentType,
    };
  };

  return { getFile };
}
The user should be able to remove the file too, so the deleteFile function receives a key and asks storage to remove the file from S3. It returns true when the file is gone, and when storage refuses, it writes the error to the log and returns false, so a failure here never stops the rest of the app.
import { DeleteObjectCommand } from "@aws-sdk/client-s3";

export default function useS3() {
  const deleteFile = async (key: string): Promise<boolean> => {
    try {
      await client.send(
        new DeleteObjectCommand({ Bucket: s3.bucket, Key: key }),
      );

      return true;
    } catch (error) {
      console.error(`[S3] File ${key} cannot be removed.`, error);

      return false;
    }
  };

  return { deleteFile };
}
Server Composable
An endpoint that serves an image should not know that the result comes from S3. So we added a second composable that speaks in application terms, allowing the endpoints or any other place on the server to call that one instead. Only this part knows the details of the storage layer, which keeps the system better.
import { randomUUID } from "node:crypto";

import type { Upload } from "@@/types";

import useS3 from "~~/server/composables/useS3";

export default function useUploads() {
  const { uploadFile, getFile, deleteFile, isValidKey } = useS3();

  const create = async (
    body: Buffer,
    type: string,
    name: string,
  ): Promise<Upload> => {
    const id = randomUUID();

    await uploadFile(id, body, type);

    return { id, url: `/uploads/${id}`, type, name };
  };

  const read = async (id: string) => {
    return await getFile(id);
  };

  const remove = async (id: string): Promise<boolean> => {
    return await deleteFile(id);
  };

  return { create, read, remove, isUploadId: isValidKey };
}
It provides a create method that takes the file as a buffer, with its type and original name, assigns it a UUID as a new name, and then hands it to the S3 adapter for upload. Once complete, it returns the results as a structure that matches the defined contract so other parts can use it. It also provides read and remove methods that work based on the file ID to perform operations.
Naming every file with a UUID is our design choice, not a rule of S3: the name means nothing on its own, two uploads can never collide, and nobody can guess the next one.
API Endpoints
To upload a user file, the browser sends a POST request to the /upload endpoint. It first checks if a user is signed in, because only authenticated users may put files in the bucket; then it takes the file from the request and answers 400 when something is missing. When everything is right, it hands the file to the composable and returns the data, with the URL the app uses to show it later.
import { basename } from "node:path";

import type { Upload } from "@@/types";

import useAuth from "~~/server/composables/useAuth";
import useUploads from "~~/server/composables/useUploads";

export default defineEventHandler(async (event): Promise<Upload> => {
  const { requireUser } = useAuth(event);
  const { create } = useUploads();

  await requireUser();

  const form = (await readMultipartFormData(event)) || [];
  const file = form.find((item) => item.name === "file");

  if (!file || !file.type) {
    throw createError({ statusCode: 400, statusMessage: "File is missing." });
  }

  return await create(file.data, file.type, basename(file.filename || "image"));
});
The second endpoint allows removing a file. The browser sends a DELETE request with the upload ID in the query, checks user authentication, and asks the composable whether that ID is one of ours before passing it on. It returns true when the object is gone, and false on failure.
import { z as zod } from "zod";

import useAuth from "~~/server/composables/useAuth";
import useUploads from "~~/server/composables/useUploads";

export default defineEventHandler(async (event): Promise<boolean> => {
  const { requireUser } = useAuth(event);
  const { remove, isUploadId } = useUploads();

  await requireUser();

  const { id } = zod
    .object({
      id: zod.string().refine(isUploadId),
    })
    .parse(getQuery(event));

  return await remove(id);
});
Route
With the server ready to receive and remove a file, the next question was how the browser gets one back. Every object already has an address in storage, and if you open the bucket to the internet, that address is what the interface uses.
https://our-bucket.s3.eu-central-1.amazonaws.com/57889f2e-42b5-4438-bae0-6f45cdd0bca7That works, and for public files it is a fine choice. In our application, every file is private, so opening a URL like that gives the visitor a 403. The bucket has to stay closed, so the app serves the files itself, through a route under /uploads that takes the ID of the file. The same file now comes from internal URL like this.
http://localhost:9000/uploads/57889f2e-42b5-4438-bae0-6f45cdd0bca7When the browser wants to display an image, it sends a GET request to the /upload/{id} route and passes the ID. The application route first asks the composable whether that ID is one of our file keys, then checks user authentication, and serves the result as bytes with valid content type and cache headers.
import { z as zod } from "zod";

import useAuth from "~~/server/composables/useAuth";
import useUploads from "~~/server/composables/useUploads";

export default defineEventHandler(async (event) => {
  const { requireUser } = useAuth(event);
  const { read, isUploadId } = useUploads();

  const { id } = zod
    .object({
      id: zod.string().refine(isUploadId),
    })
    .parse(getRouterParams(event));

  await requireUser();

  const file = await read(id);

  if (!file) {
    throw createError({
      statusCode: 404,
      statusMessage: "File has not been found.",
    });
  }

  setResponseHeader(
    event,
    "Content-Type",
    file.type || "application/octet-stream",
  );
  setResponseHeader(event, "Cache-Control", "private, no-store");

  return file.data;
});
This route works, and it is the shortest version to start from, but it carries a performance problem that will hurt a real application, and we would change it before anything else here. We’ll get back to it in a moment, once the browser side is in place.
Client Composable
The system must stay reusable. Instead of writing a $fetch request in every place the app needs to work with files, we create a useUploads composable that wraps everything and provides an easy API to use. It provides create and remove methods, and that is enough because reading is handled through the URL.
import type { Upload } from "@@/types";

export default function useUploads() {
  const create = async (file: File): Promise<Upload> => {
    const payload = new FormData();

    payload.append("file", file);

    return await $fetch<Upload>("/api/uploads", {
      method: "POST",
      body: payload,
    });
  };

  const remove = async (id: string): Promise<boolean> => {
    return await $fetch<boolean>("/api/uploads", {
      method: "DELETE",
      query: { id },
    });
  };

  return { create, remove };
}
Component
Now we can use our composable in other components. The original goal was to provide a way to upload assets in Milkdown, so we use the official plugin that supports this and our own upload function, which takes a file, passes it to the create function, and gives the upload URL back.
const uploadImage = async (image: File): Promise<string> => {
  const { create } = useUploads();

  const upload = await create(image);

  return upload.url;
};
How do we know it works?
Let’s make a quick test now. The user takes a huge screenshot that would normally be converted into a large Base64 string. They paste it into the editor, which then uploads the file through a composable and serves the image when it is ready.
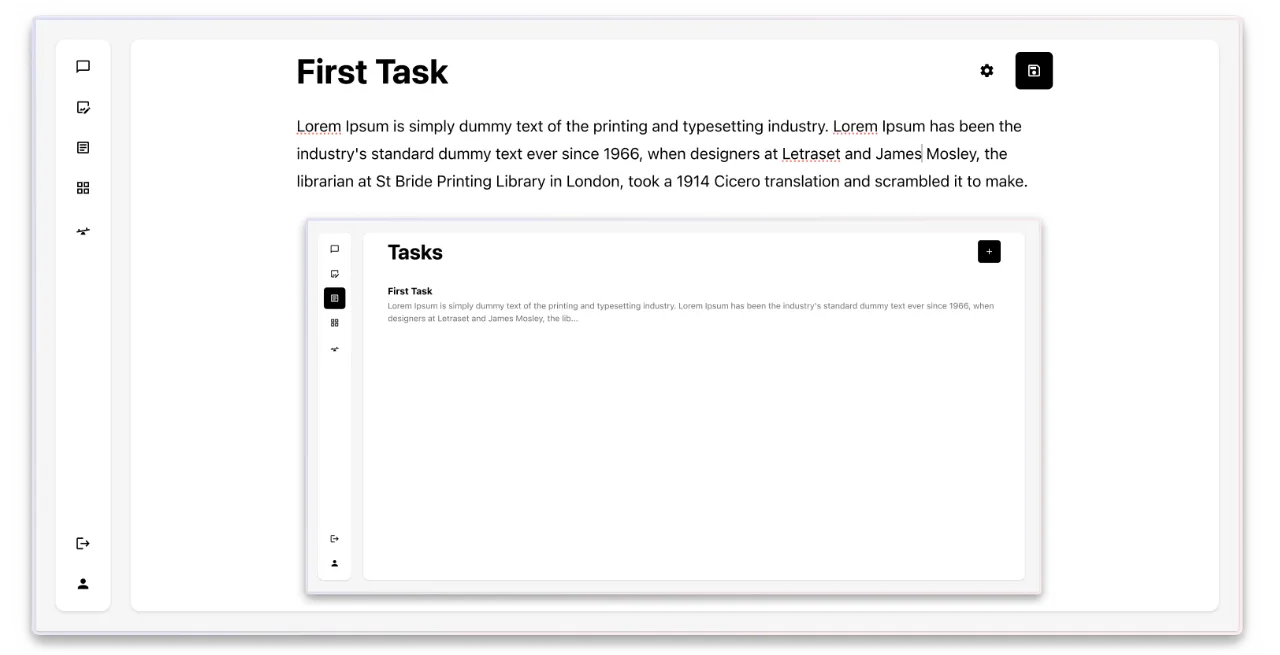
When we check the content source in the admin panel, we’ll see that, instead of keeping the Base64 string, the content keeps an URL that the browser resolves into the image.
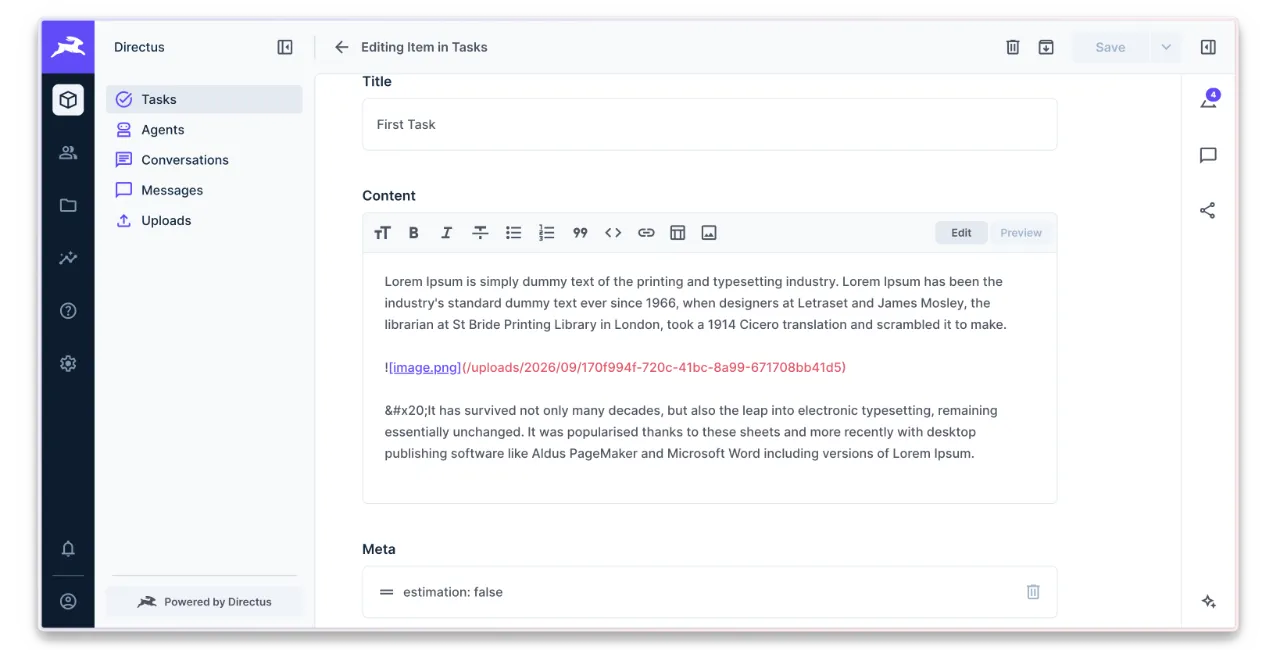
Milkdown in this example is just one of the numerous use cases. This flow became the standard for handling file management in our Nuxt application. Whenever we need it, we use useUploads().create(), and that’s it. The browser knows nothing about S3, and that is the goal. We use it, in our AI chat component to upload attachments before they are passed to AI models. It is one function that we can use just by passing a file object without worrying about other layers.
What does serving a file through the app cost?
One of our clients came to us with a Nuxt application that served private files from S3 through an internal route like above. The app checked whether the user had access, fetched the file, and returned it directly. Everything worked locally, but after the release, the performance data showed unusually high memory usage even with relatively small traffic. That pointed us to the file delivery flow.
The problem with serving files directly via a Nuxt route was that every file had to pass through Nuxt server memory before it reached the browser. Small images usually hide the issue, but larger files and concurrent requests expose it very quickly. Each download forces the application server to hold the file while sending it back, so memory becomes the first real scaling limit even when the rest of the app is doing fine.
export default defineEventHandler(async (event) => {
  const { requireUser } = useAuth(event);
  const { sign, isUploadId } = useUploads();

  const { id } = zod
    .object({
      id: zod.string().refine(isUploadId),
    })
    .parse(getRouterParams(event));

  await requireUser();

  return sendRedirect(event, await sign(id), 302);
});
We fixed this by keeping the access check in the application and removing the file transfer from the application. Once the user is allowed to access the file, the server requests a short-lived presigned S3 URL and redirects the browser to it. The browser then downloads the file directly from object storage, which means the app keeps control over permissions without carrying the cost of serving the file itself.
https://our-bucket.s3.eu-central-1.amazonaws.com/57889f2e-42b5-4438-bae0-6f45cdd0bca7
  ?X-Amz-Algorithm=AWS4-HMAC-SHA256
  &X-Amz-Date=20260918T101500Z
  &X-Amz-Expires=900
  &X-Amz-SignedHeaders=host
  &X-Amz-Signature=8f2c1d4b6a9e0c3f5d7b2a8e4c6f1d9b3a7e5c2f8d4b6a0e9c3f7d1b5a8e2c4f
This pattern is widely used and well proven. GitLab uses redirects to object storage for protected files, and GitHub does the same kind of redirect flow for release assets. We are not covering the signing mechanism itself in this article, but AWS documents presigned URLs as the standard way to grant access to private S3 objects. For our client, that small change removed a real scaling risk and kept the private file flow exactly where it belonged: under application control, but outside memory.
What’s the takeaway?
RustFS adds S3-compatible storage to Nuxt apps almost at no cost. This prevents performance degradation by keeping large media files out of the database. Since the system uses a Docker container and the standard S3 SDK, the architecture remains ready for migration to AWS S3 - or any other provider.
If this sounds like the kind of feature your team needs, send us an email, and let’s talk through it. Me or Paweł will get back to you as soon as possible. Check out our social profiles on LinkedIn or Instagram for the next articles, and if you are watching this as a video, give it a thumbs up and subscribe to the channel for more content like this.