We built an AI chatbot with Nuxt and the OpenAI API
Learn how we built a Nuxt AI chatbot interface that replaces fixed AI subscriptions and keeps costs tied to real usage.
What if you could use AI at work without another up monthly fee? That is what we wanted to test. Instead of adding more subscription-based AI tools, we built a custom chatbot in Nuxt tailored to the tasks we do. We use OpenAI or Google AI models and pay only for what we use, instead of a fixed monthly fee.
Building the AI chatbot around our real needs changed the numbers. Instead of carrying many subscriptions that stayed the same in quiet months, we moved to a usage-based approach making the process much more budget-friendly for us.
If you are looking for a practical way to cut AI costs without overbuilding, this article is worth a read. I walk through how we built a custom AI-chat component integrated with OpenAI and why this choice allowed us to deliver a better and cheaper result.
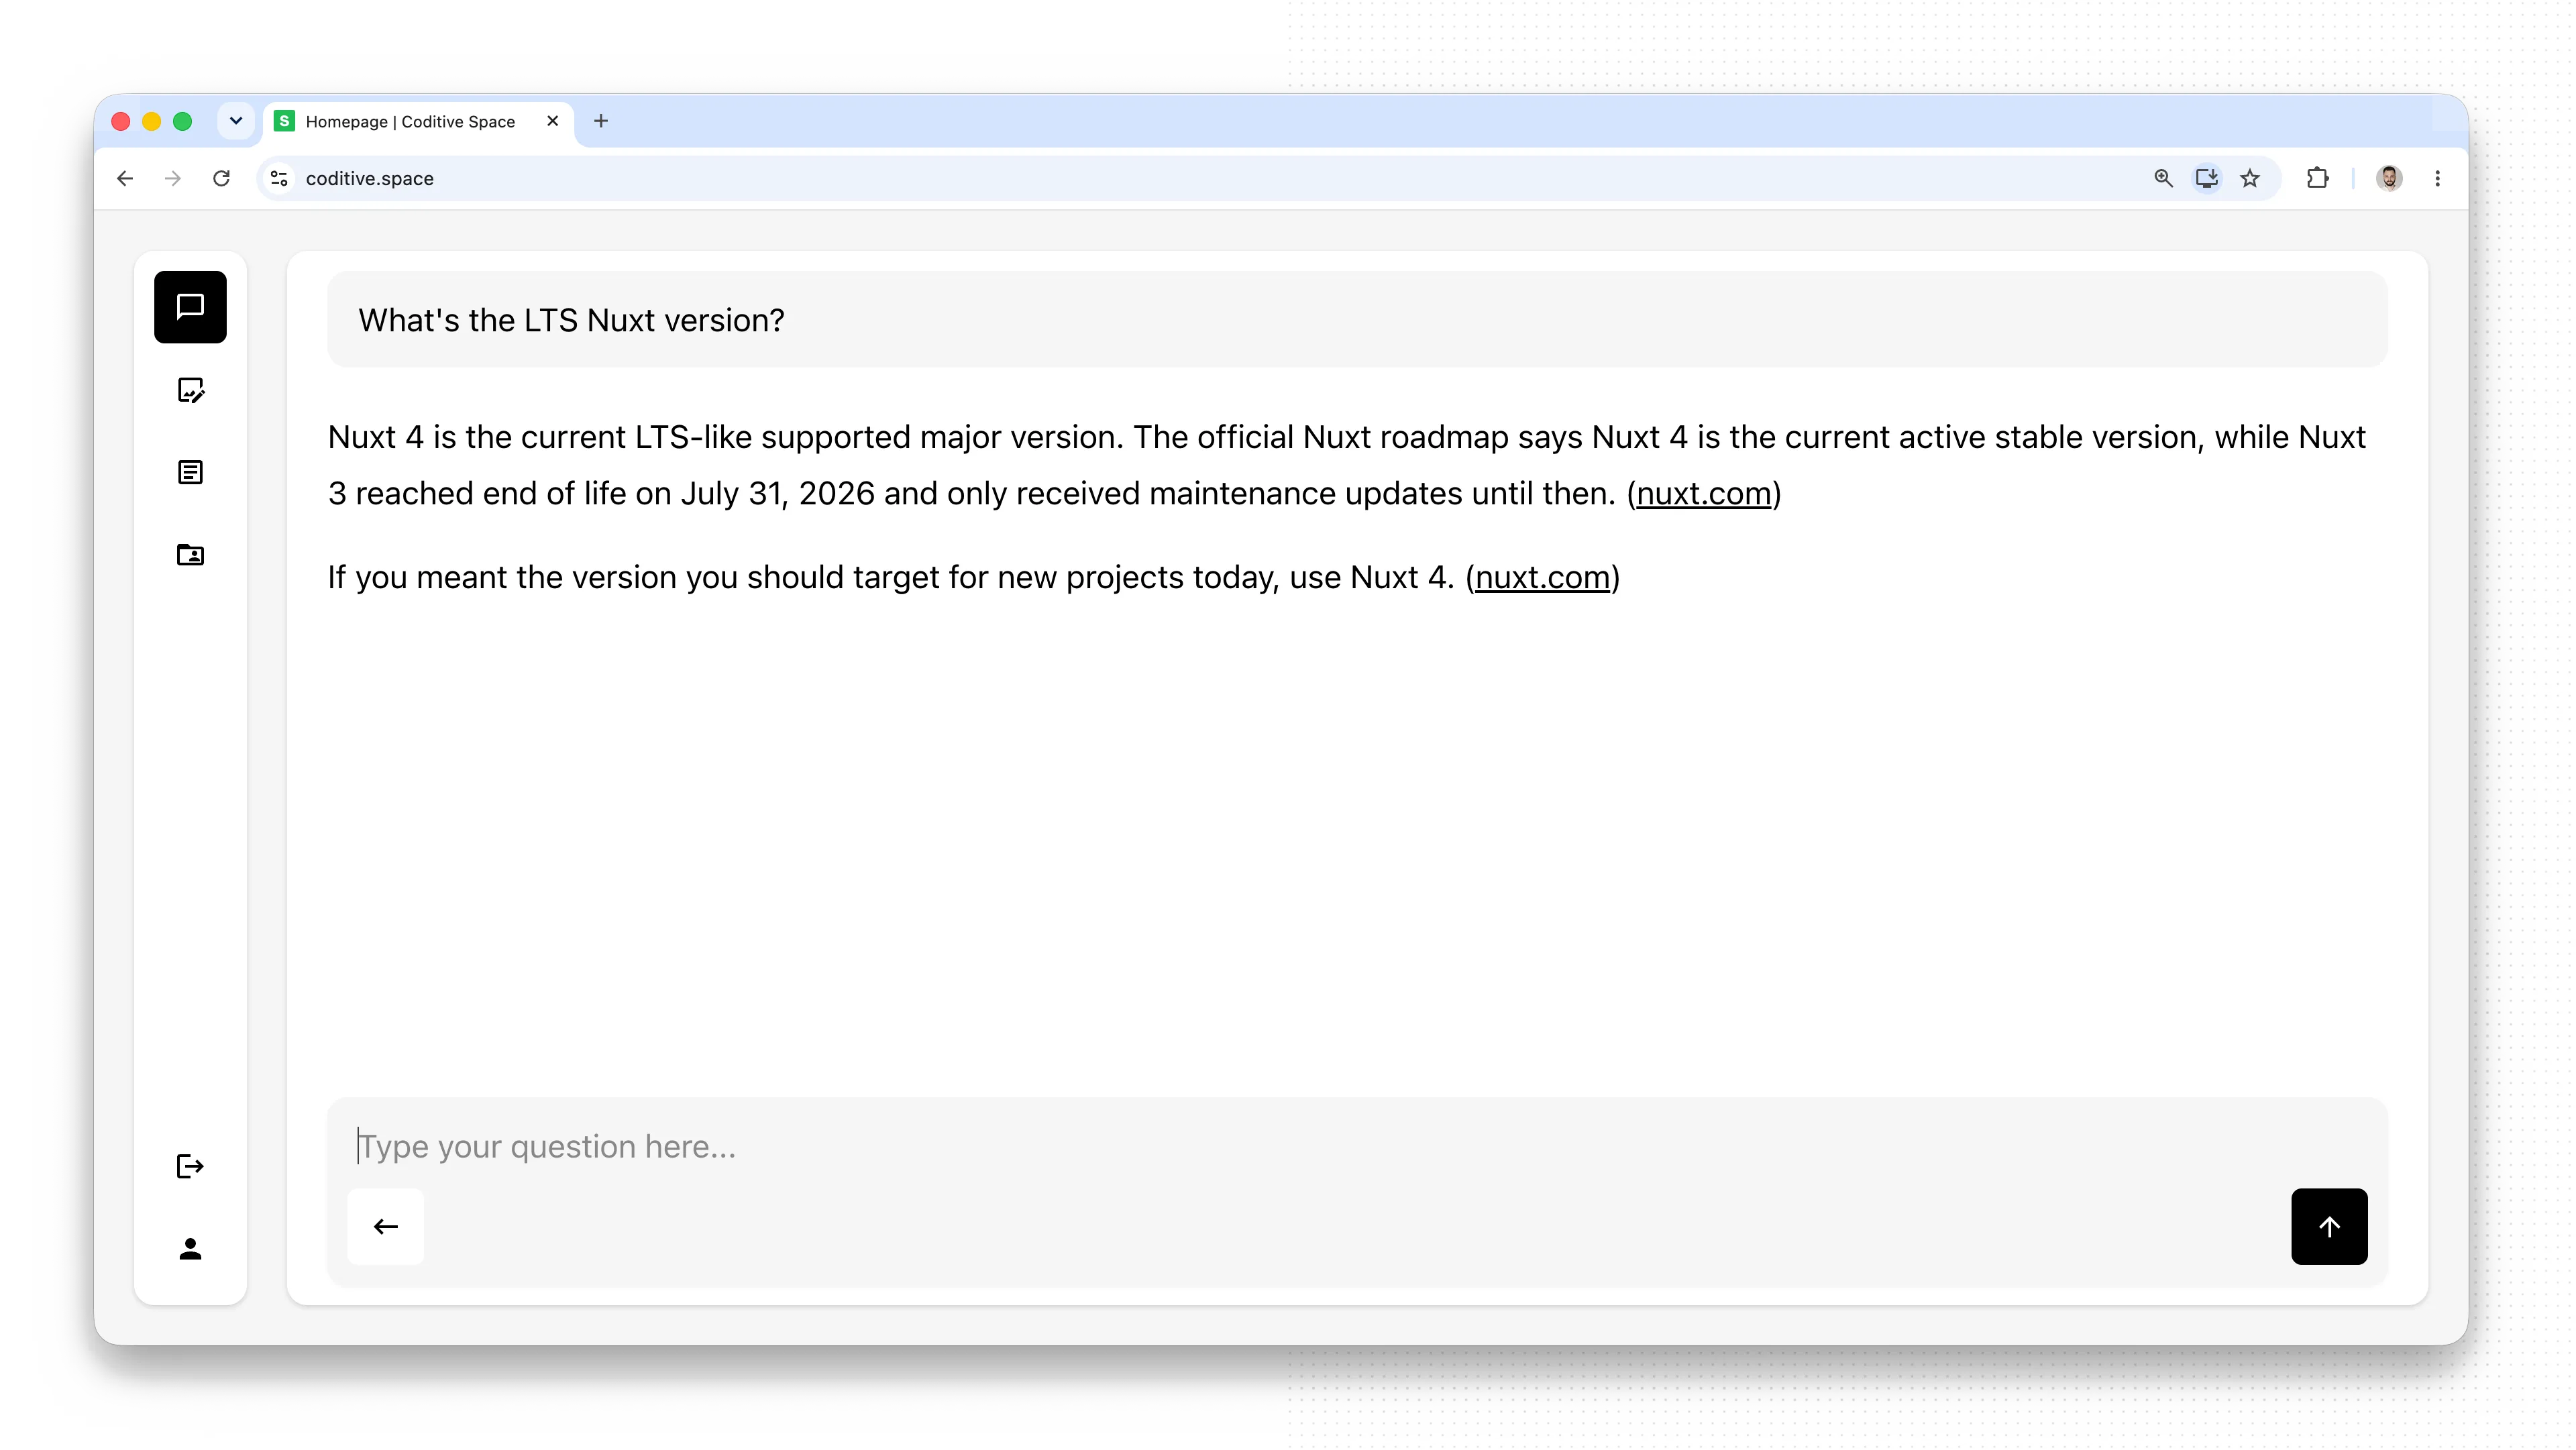
How did we cut AI costs without making life harder?
ChatGPT showed up fast, and sneaked into everything: research, writing, client work. Then the rest of the AI world exploded too, and we wanted room to try those tools as well. That is where the first pain point started: every tool we wanted to test came with its own monthly fee. In a busy month, ChatGPT paid for itself. In a quiet one, it was just one more thing we had already signed up for.
That pushed us to experiment with a more cost-efficient setup that matched how we wanted to work. We wanted to stop paying for idle capacity and avoid another fixed monthly bill. So we built a simple AI chat application with Nuxt that integrates the OpenAI API with usage-based pricing, so we pay only for what we actually use. It started as a test and turned into something we use every day.
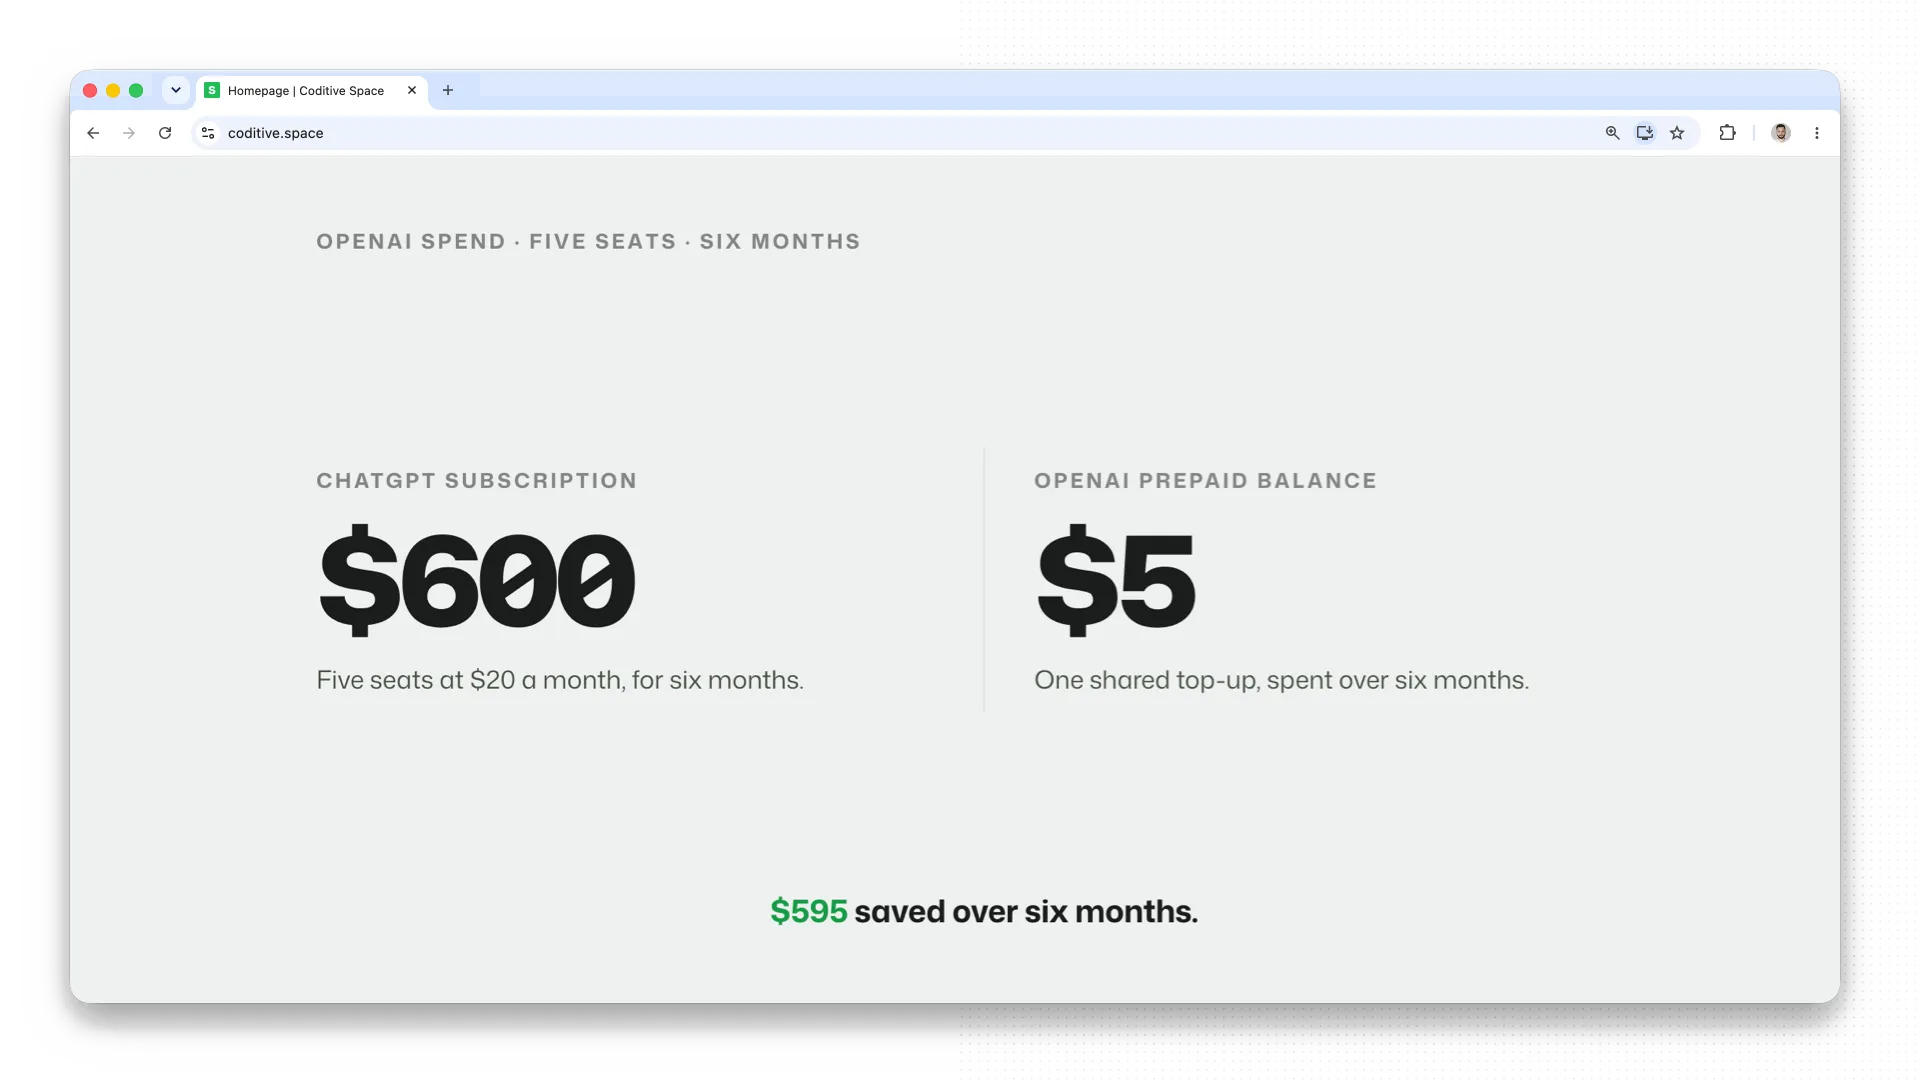
We started with a $5 prepaid OpenAI balance and rolled the setup out to a small internal testing group of five team members. Over six months, it handled roughly the same amount of work we had previously covered with ChatGPT subscriptions at $20 per user each month - adding up to about $595 in savings. Later, as more team members started using it, the savings increased further, so we kept expanding it.
Why did the tailored setup work so well?
We often see clients pay for tools that are larger than the task at hand. One example from our client story was hosting a simple, static website on AWS, which cost hundreds of dollars, while the same site could have been hosted on much cheaper yet still reliable services like Kinsta. So, the quick answer is that it worked because we built a tool shaped around what the team actually needed rather than hype.
We are not the kind of team that asks AI to do everything and then ships whatever comes back. We use it to improve our own work first, such as refining wording in the messages, improving grammar in text content, and speeding up the research process. For that kind of well-defined task, smaller models are enough. So, a large part of the savings in our AI-integrated chat app came from the model choice.
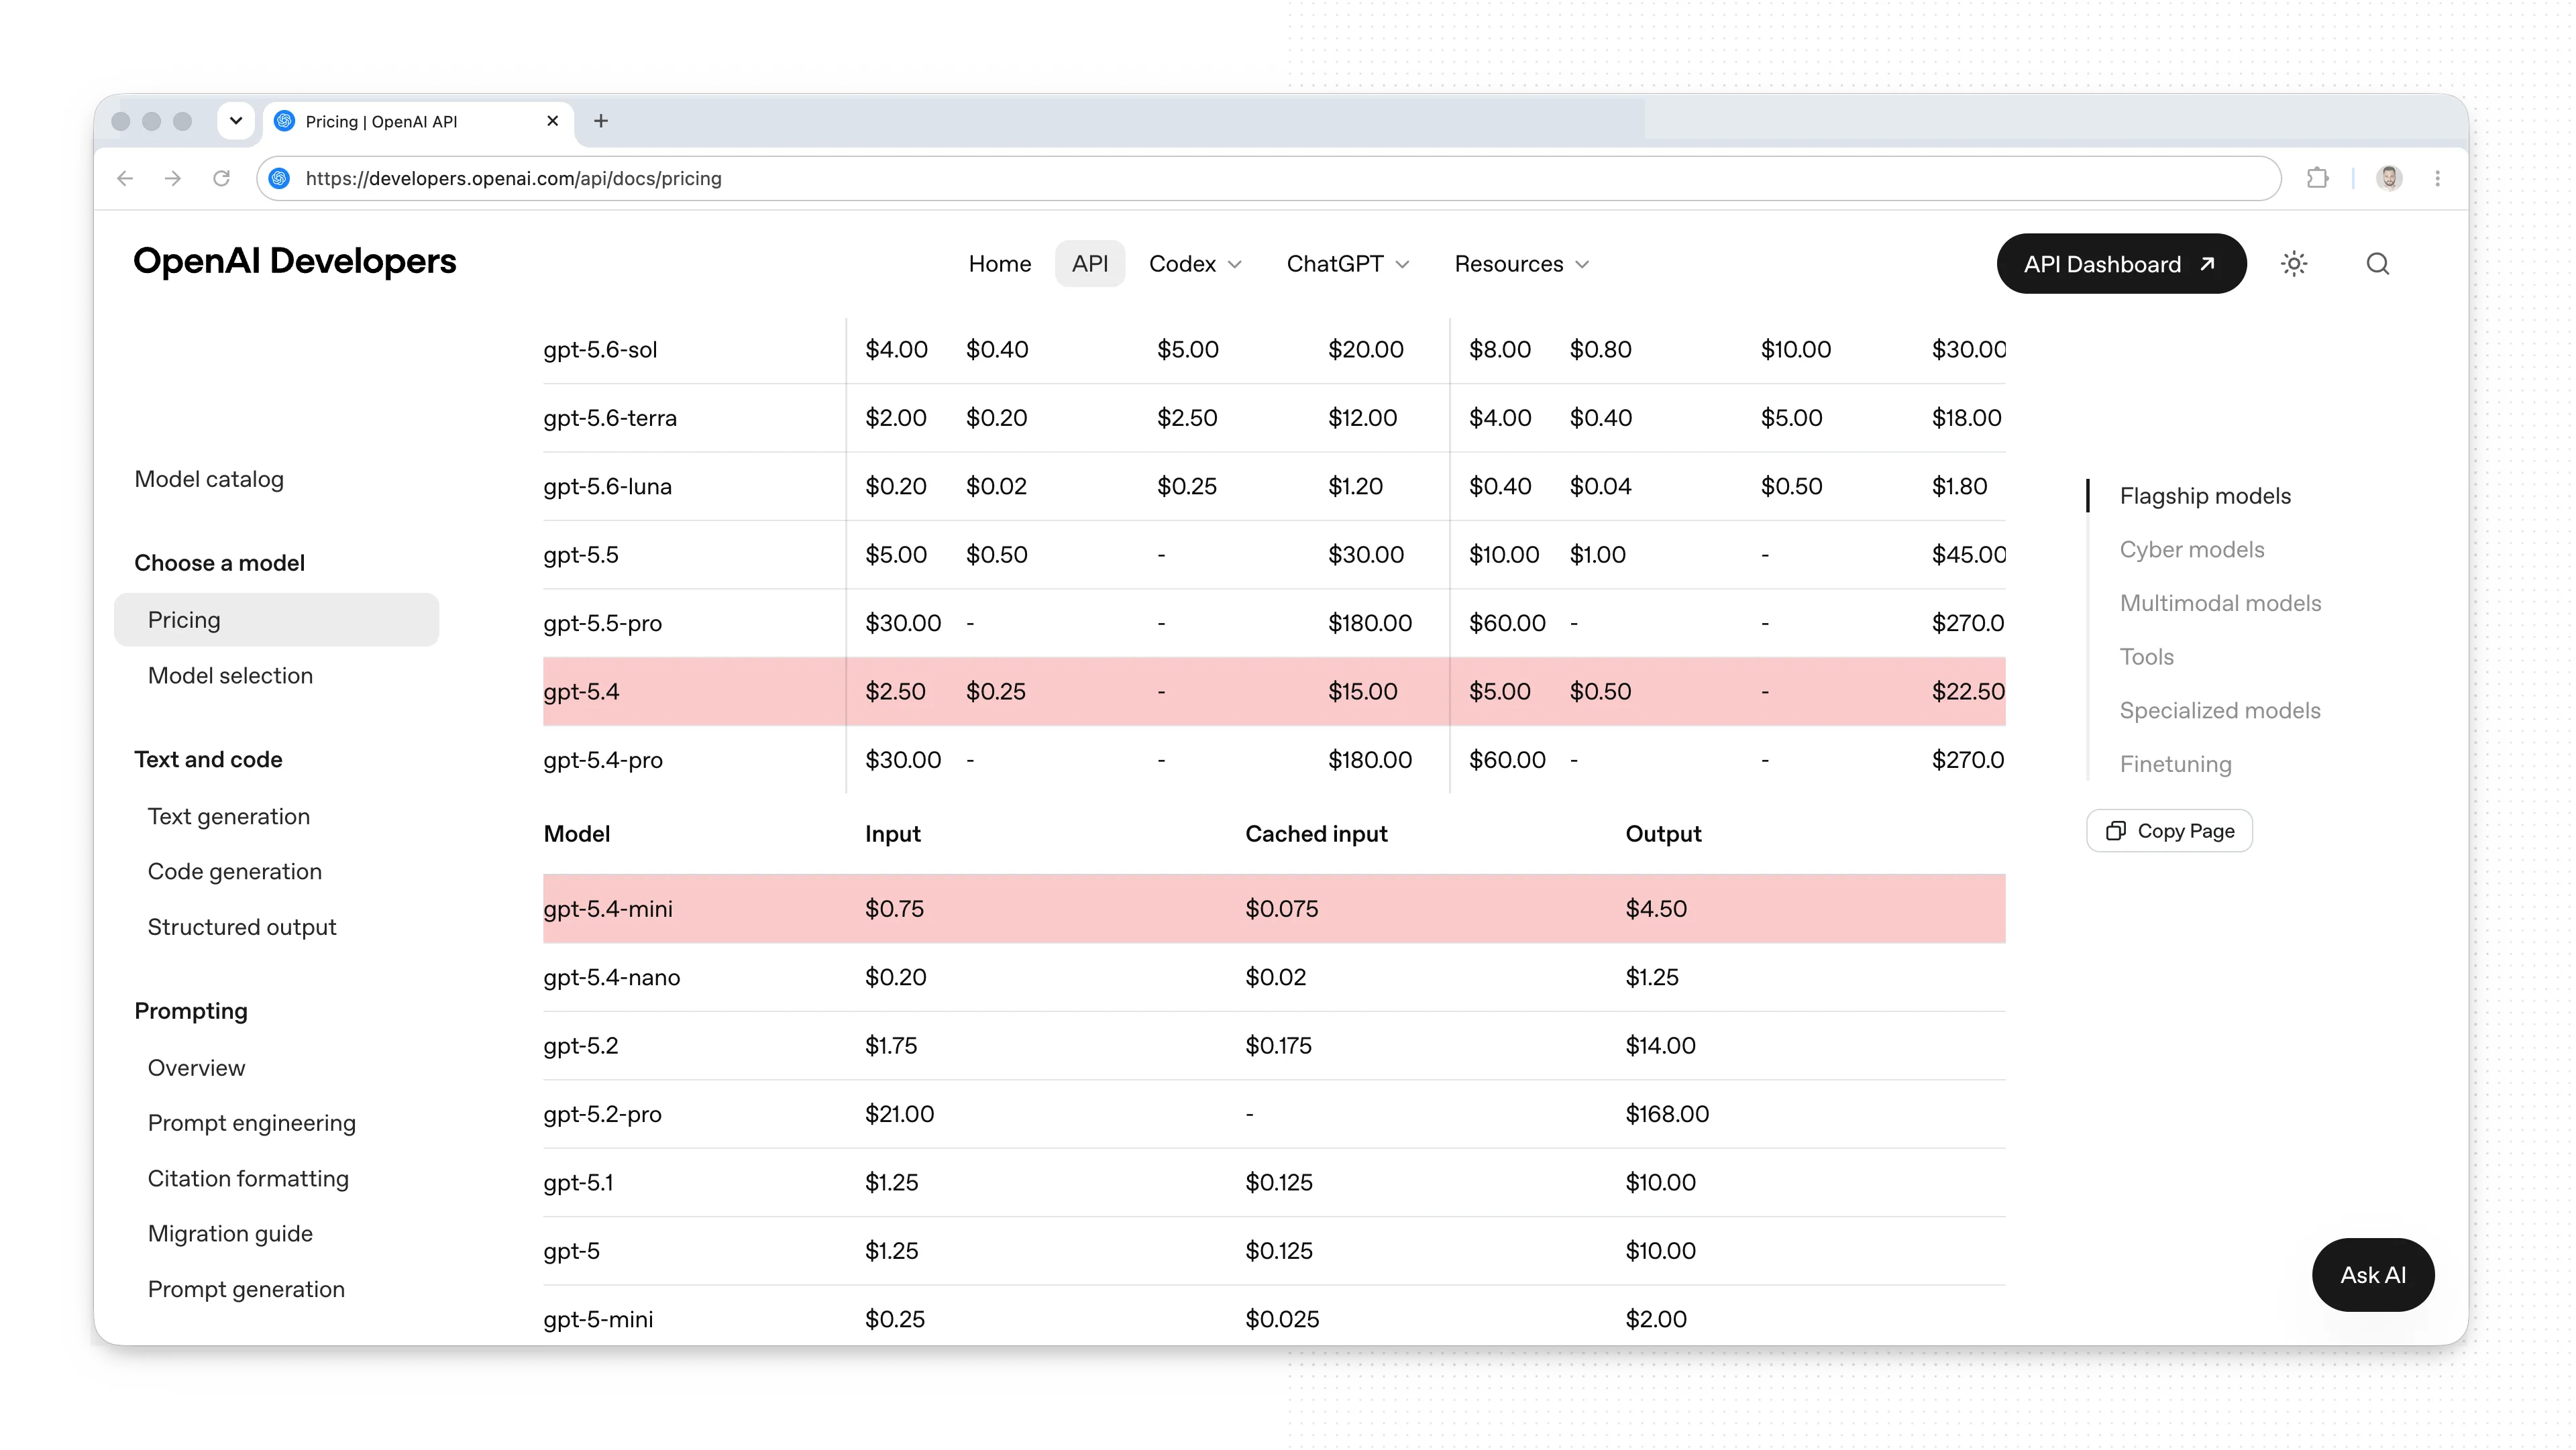
The mini models like gpt-5.4-mini are much cheaper than flagship ones like gpt-5.4, and that adds up quickly when the task does not need such power. We kept the human side in charge, used the smaller model to support the process, not to do it totally for us, and got the result without spending more than necessary. We took our needs and built a tool around them. How did we do this?
How to build an AI-chat component in Nuxt?
We usually start with the smallest version that can actually do the job. In this case, that meant a Nuxt chat component that takes a user message from an input, sends it through, and shows the agent response back on screen. Text only for now, since we didn’t need extra chaos and weeks of work investment.
This simple setup was enough for us for a long time, and honestly, that was the point. It gave us a clean base we could build on later as the app grew.
OpenAI
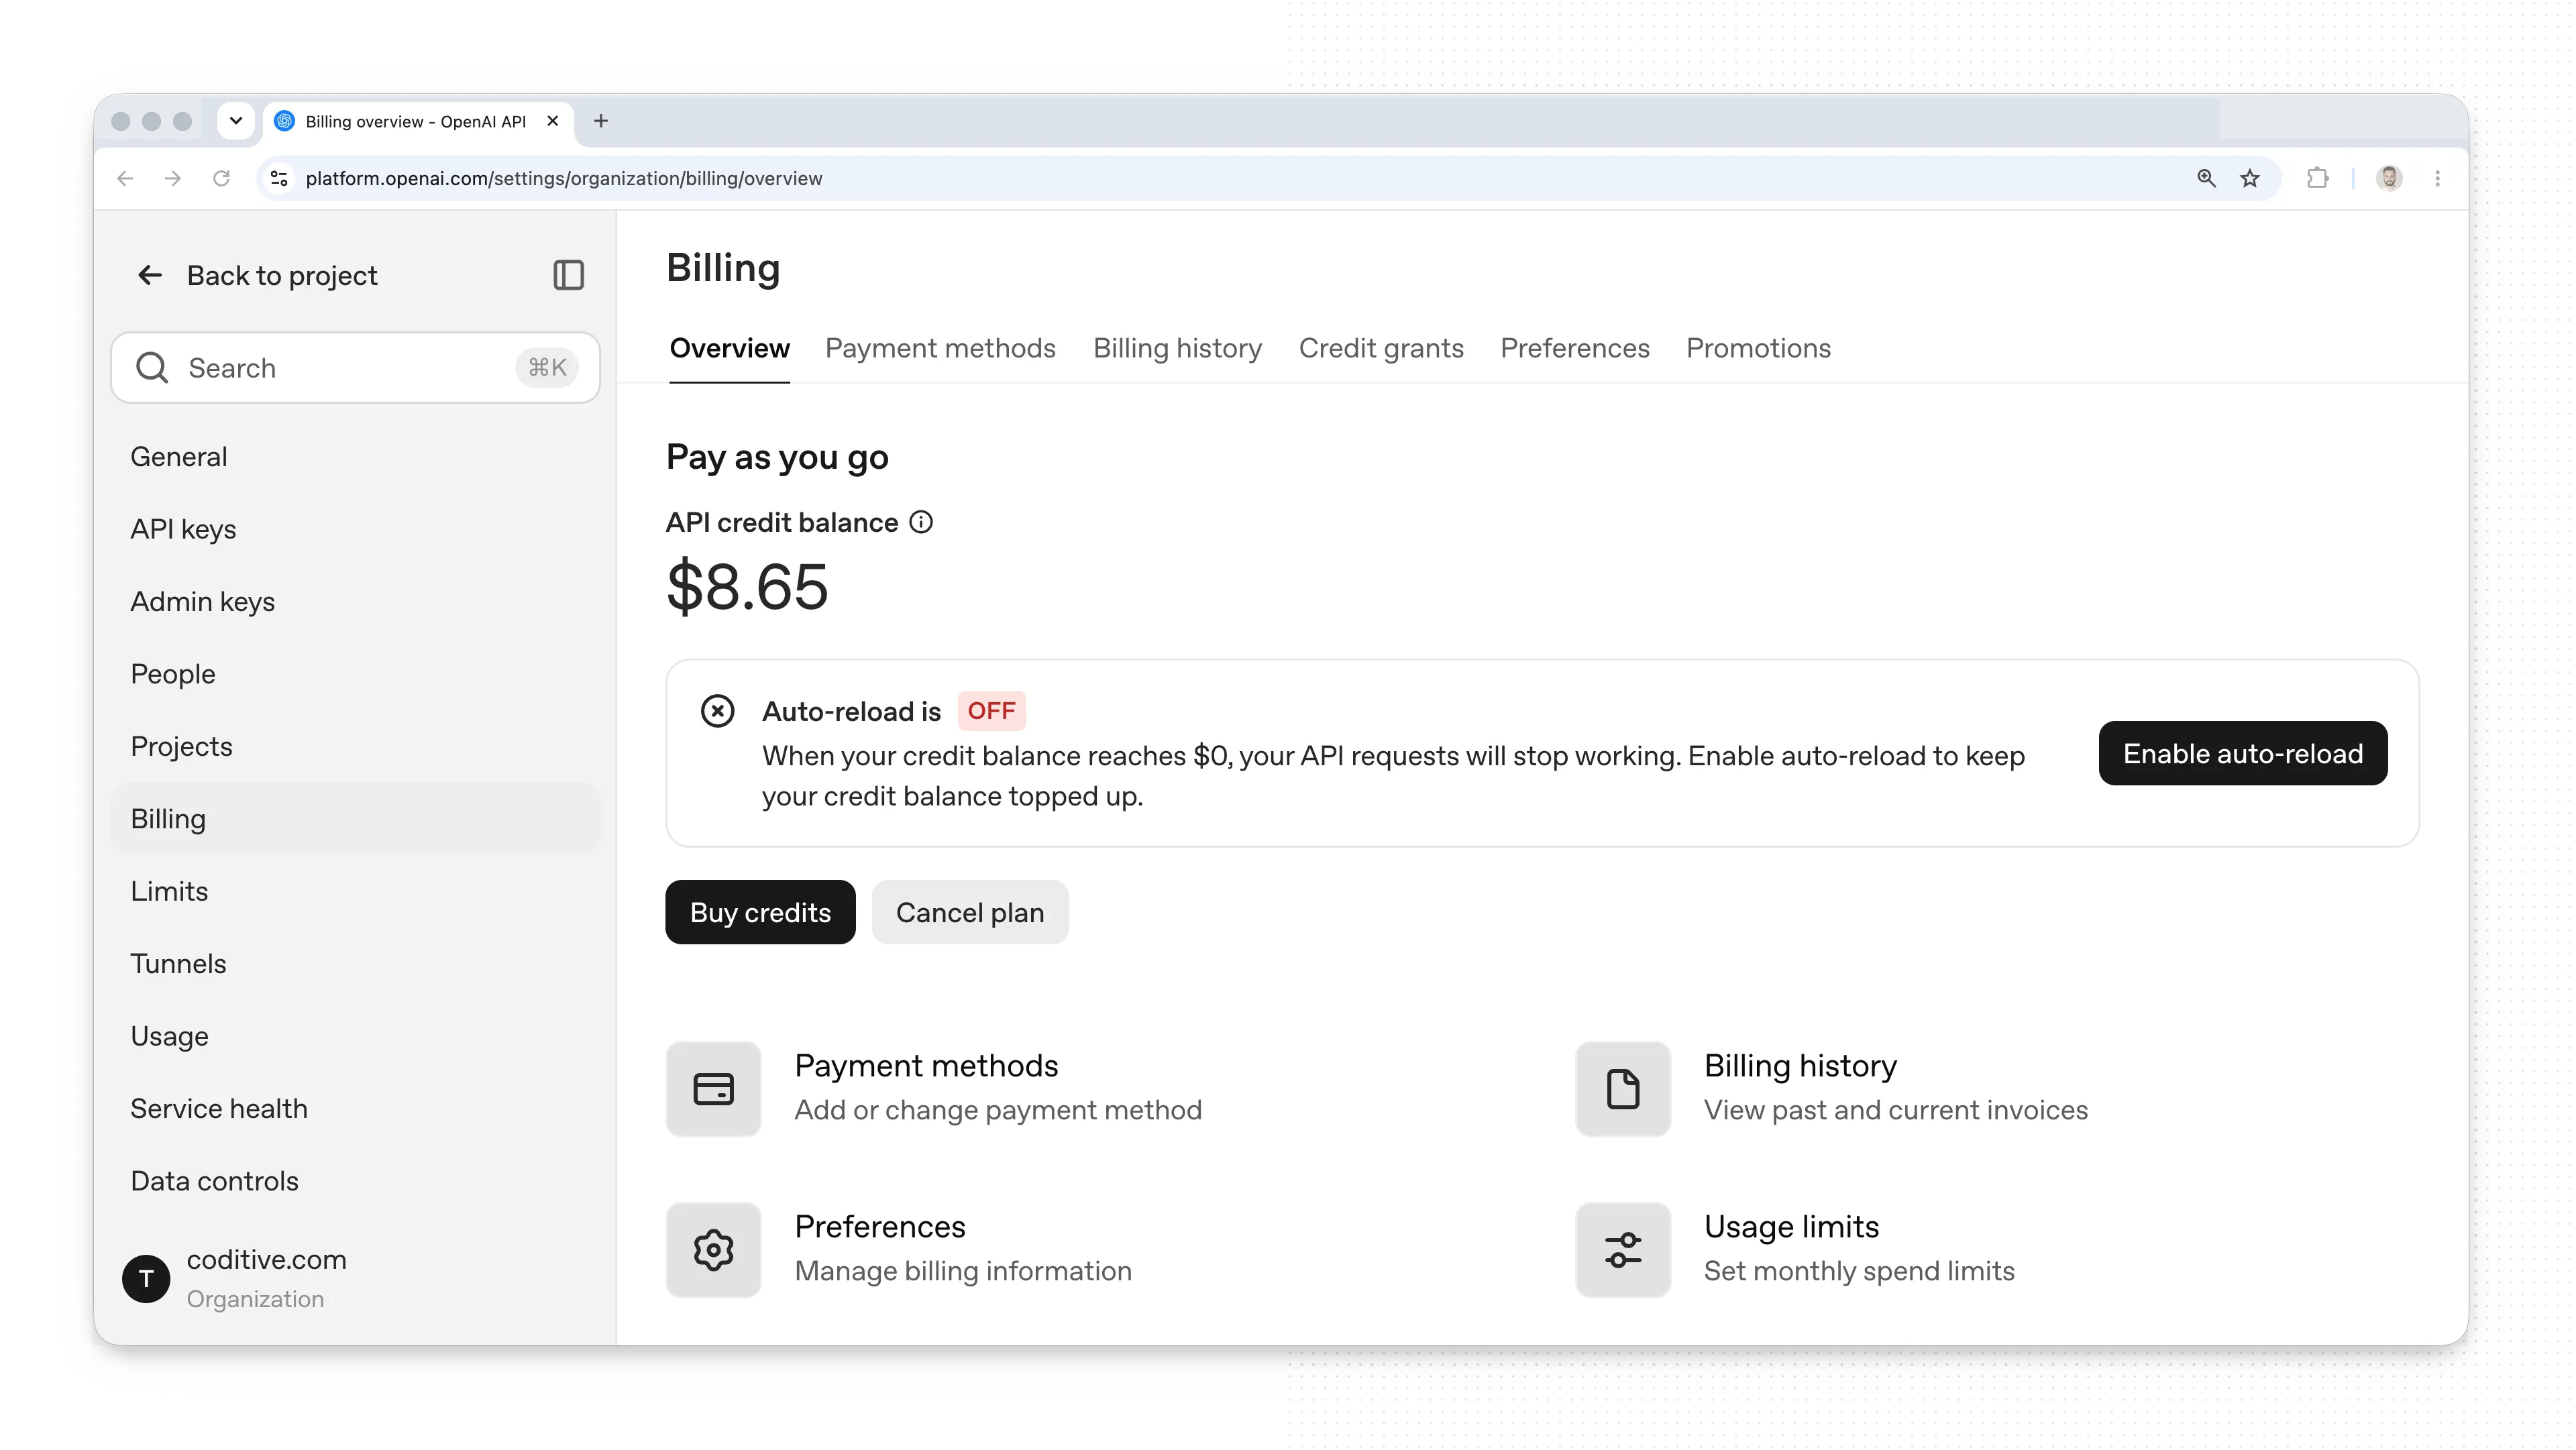
Start by creating an account on the OpenAI platform and generating a new API key. Add some balance to the account, and you can start small, like $5, since that is enough to get moving. Then store the API key safely as a runtime environment variable, so you can handle it cleanly in your Nuxt project with a .env.
Before we jump into the code, it helps to know the recommended Nuxt structure we are aiming for. This makes the results easier to extend later without wasting time. You can find more details on our blog or the YouTube channel. Remember to subscribe to us!
Type
As stated in the article above, application-level types are very useful because they define the shape of the data the product uses. So, start with them and create a new Message type to provide a unified message schema across the system. The initial state is simple; it is built from content and role properties.
export type Message = {
  content: string;
  role: "user" | "assistant" | "system";
};
Component
Create a frontend component with a prompt input and a list of messages from the user and the assistant. The first version is intentionally plain, especially in this example.
Messages can live in browser memory, then get sent to the server as a payload through the API. There is no server storage. Everything sits in one array and gets processed there. For smaller cases, that is enough, and it keeps the whole thing easy to handle.
<template>
  <div class="app-chat">
    <div v-for="(message, index) in messages" :key="`message-${index}`">
      {{ message.content }}
    </div>

    <form @submit.prevent="submit">
      <textarea name="message" id="message" v-model="input" />

      <button type="submit" :disabled="isBusy">
        {{ isBusy ? "Thinking..." : "Send" }}
      </button>
    </form>
  </div>
</template>

<script setup lang="ts">
import type { Message } from "@@/types";

const { getResponse, isBusy } = useResponses();

const input = ref<string>("");
const messages = ref<Message[]>([]);

const submit = async () => {
  try {
    messages.value.push({
      content: input.value,
      role: "user",
    });

    const result = await getResponse(messages.value);

    if (result) {
      messages.value.push(result);
      input.value = "";
    }
  } catch (error) {
    console.error(error);
  }
};
</script>

<style scoped lang="scss">
.app-chat {
  position: relative;
}
</style>
The flow is simple. The user types a prompt, submits the form, the component adds the message to the array, sends it to the API, and waits. When response comes back, the assistant message gets added to the same array and shown in the chat. Then the loop repeats. That’s the flow that agents follow - parse set of messages to produce result.
Client Composable
Repeating code is a great way to annoy your future self. To avoid this, wrap the request in a composable so the rest of the app can use it too.
It exposes a getResponse method, which accepts an array of messages, sends them to the app endpoint, and returns the assistant message to display. It exposes isBusy flag, which is set before the request starts and after it ends, so we can improve UI states.
import type { Message } from "@@/types";

export default function useResponses() {
  const busy = ref<boolean>(false);

  const getResponse = async (messages: Message[]): Promise<Message> => {
    busy.value = true;

    try {
      return await $fetch<Message>("/api/responses", {
        method: "POST",
        body: {
          messages,
        },
      });
    } finally {
      busy.value = false;
    }
  };

  const isBusy = computed(() => busy.value);

  return {
    isBusy,
    getResponse,
  };
}
This makes the system easier to maintain because when another component needs to use the responses function again, it can use the exposed methods without recreating the same mechanisms from scratch.
Endpoint
The server endpoint starts by parsing the request and validating it with Zod. That gives us clear rules and readable checks before anything gets processed. Each request expects an array of items with content, and role properties.
If one item breaks that shape, the system throws an error and stops right there.
import { z as zod } from "zod";
import type { Message } from "@@/types";
import useOpenAI from "~~/server/composables/useOpenAI";

export default defineEventHandler(async (event): Promise<Message> => {
  const { getResponse } = useOpenAI(event);

  const { data, error } = zod
    .object({
      messages: zod
        .array(
          zod.object({
            content: zod.string(),
            role: zod.enum(["user", "assistant", "system"]),
          }),
        )
        .min(1),
    })
    .safeParse(await readBody(event));

  if (error) {
    throw createError({
      statusCode: 400,
      statusMessage: error.message,
    });
  }

  return await getResponse(data.messages);
});
Once the data is valid, the endpoint calls the useOpenAI composable to prepare the assistant message and return it. It also uses error codes when something goes wrong.
Server Composable
The server composable initializes the OpenAI client with API key, then exposes a getResponse function that takes the messages array, converts it into the format OpenAI expects, and sends the request through the Responses API. When the response comes back, it translates the OpenAI output back into our app’s type and returns the assistant object. Code run on the server so API keys are not exposed.
import OpenAI from "openai";
import type { H3Event } from "h3";
import type { Message } from "@@/types";

export default function useOpenAI(event: H3Event) {
  const config = useRuntimeConfig();

  const client = new OpenAI({
    apiKey: config.openai.api.key,
  });

  const getResponse = async (messages: Message[]): Promise<Message> => {
    const response = await client.responses.create({
      model: "gpt-4o-mini",
      input: messages.map((message) => {
        switch (message.role) {
          case "user":
            return {
              type: "message",
              role: "user",
              content: [
                {
                  type: "input_text",
                  text: message.content,
                },
              ],
            };
          case "assistant":
            return {
              type: "message",
              role: "assistant",
              content: [
                {
                  type: "output_text",
                  text: message.content,
                },
              ],
            };
          case "system":
            return {
              type: "message",
              role: "system",
              content: [
                {
                  type: "output_text",
                  text: message.content,
                },
              ],
            };
          default:
            return null;
        }
      }),
      tools: [{ type: "web_search" }],
    });

    return {
      content: response?.output[0]?.content[0]?.text ?? "",
      role: "assistant",
    };
  };

  return {
    getResponse,
  };
}
That keeps the rest of the system tidy. Other parts do not need to care how the assistant response gets produced. The messy stuff stays inside useOpenAI, which is exactly where it belongs. This also makes switching providers much less painful. If we ever want to move from OpenAI to Gemini, we create a useGemini composable, wire up the SDK, and update the endpoint. The rest of the app stays untouched.
What next?
Those examples provide only a basic idea of integrating OpenAI into Nuxt apps, so many things, such as styling, handling edge cases, and proper user authorization mechanisms to prevent others from using the API credits on your behalf, must also be implemented. These topics can be addressed in the next steps, and to avoid making this article too long, we will cover them in later parts. Stay with us by subscribing.
nuxt
├── app
│   └── components
│       └── AppChat.vue
│   └── composables
│       └── useResponses.ts
├── server
│   ├── api
│   │   └── responses.post.ts
│   ├── composables
│   │   ├── useOpenAI.ts
└── types.ts
In this form, it cannot yet be publicly available because anyone could use it this way, but our quick solution was to secure the application with Cloudflare Zero Trust so only specific users can access it. You can use it too, it’s free to use.
How did we save the client from paying for extra tools?
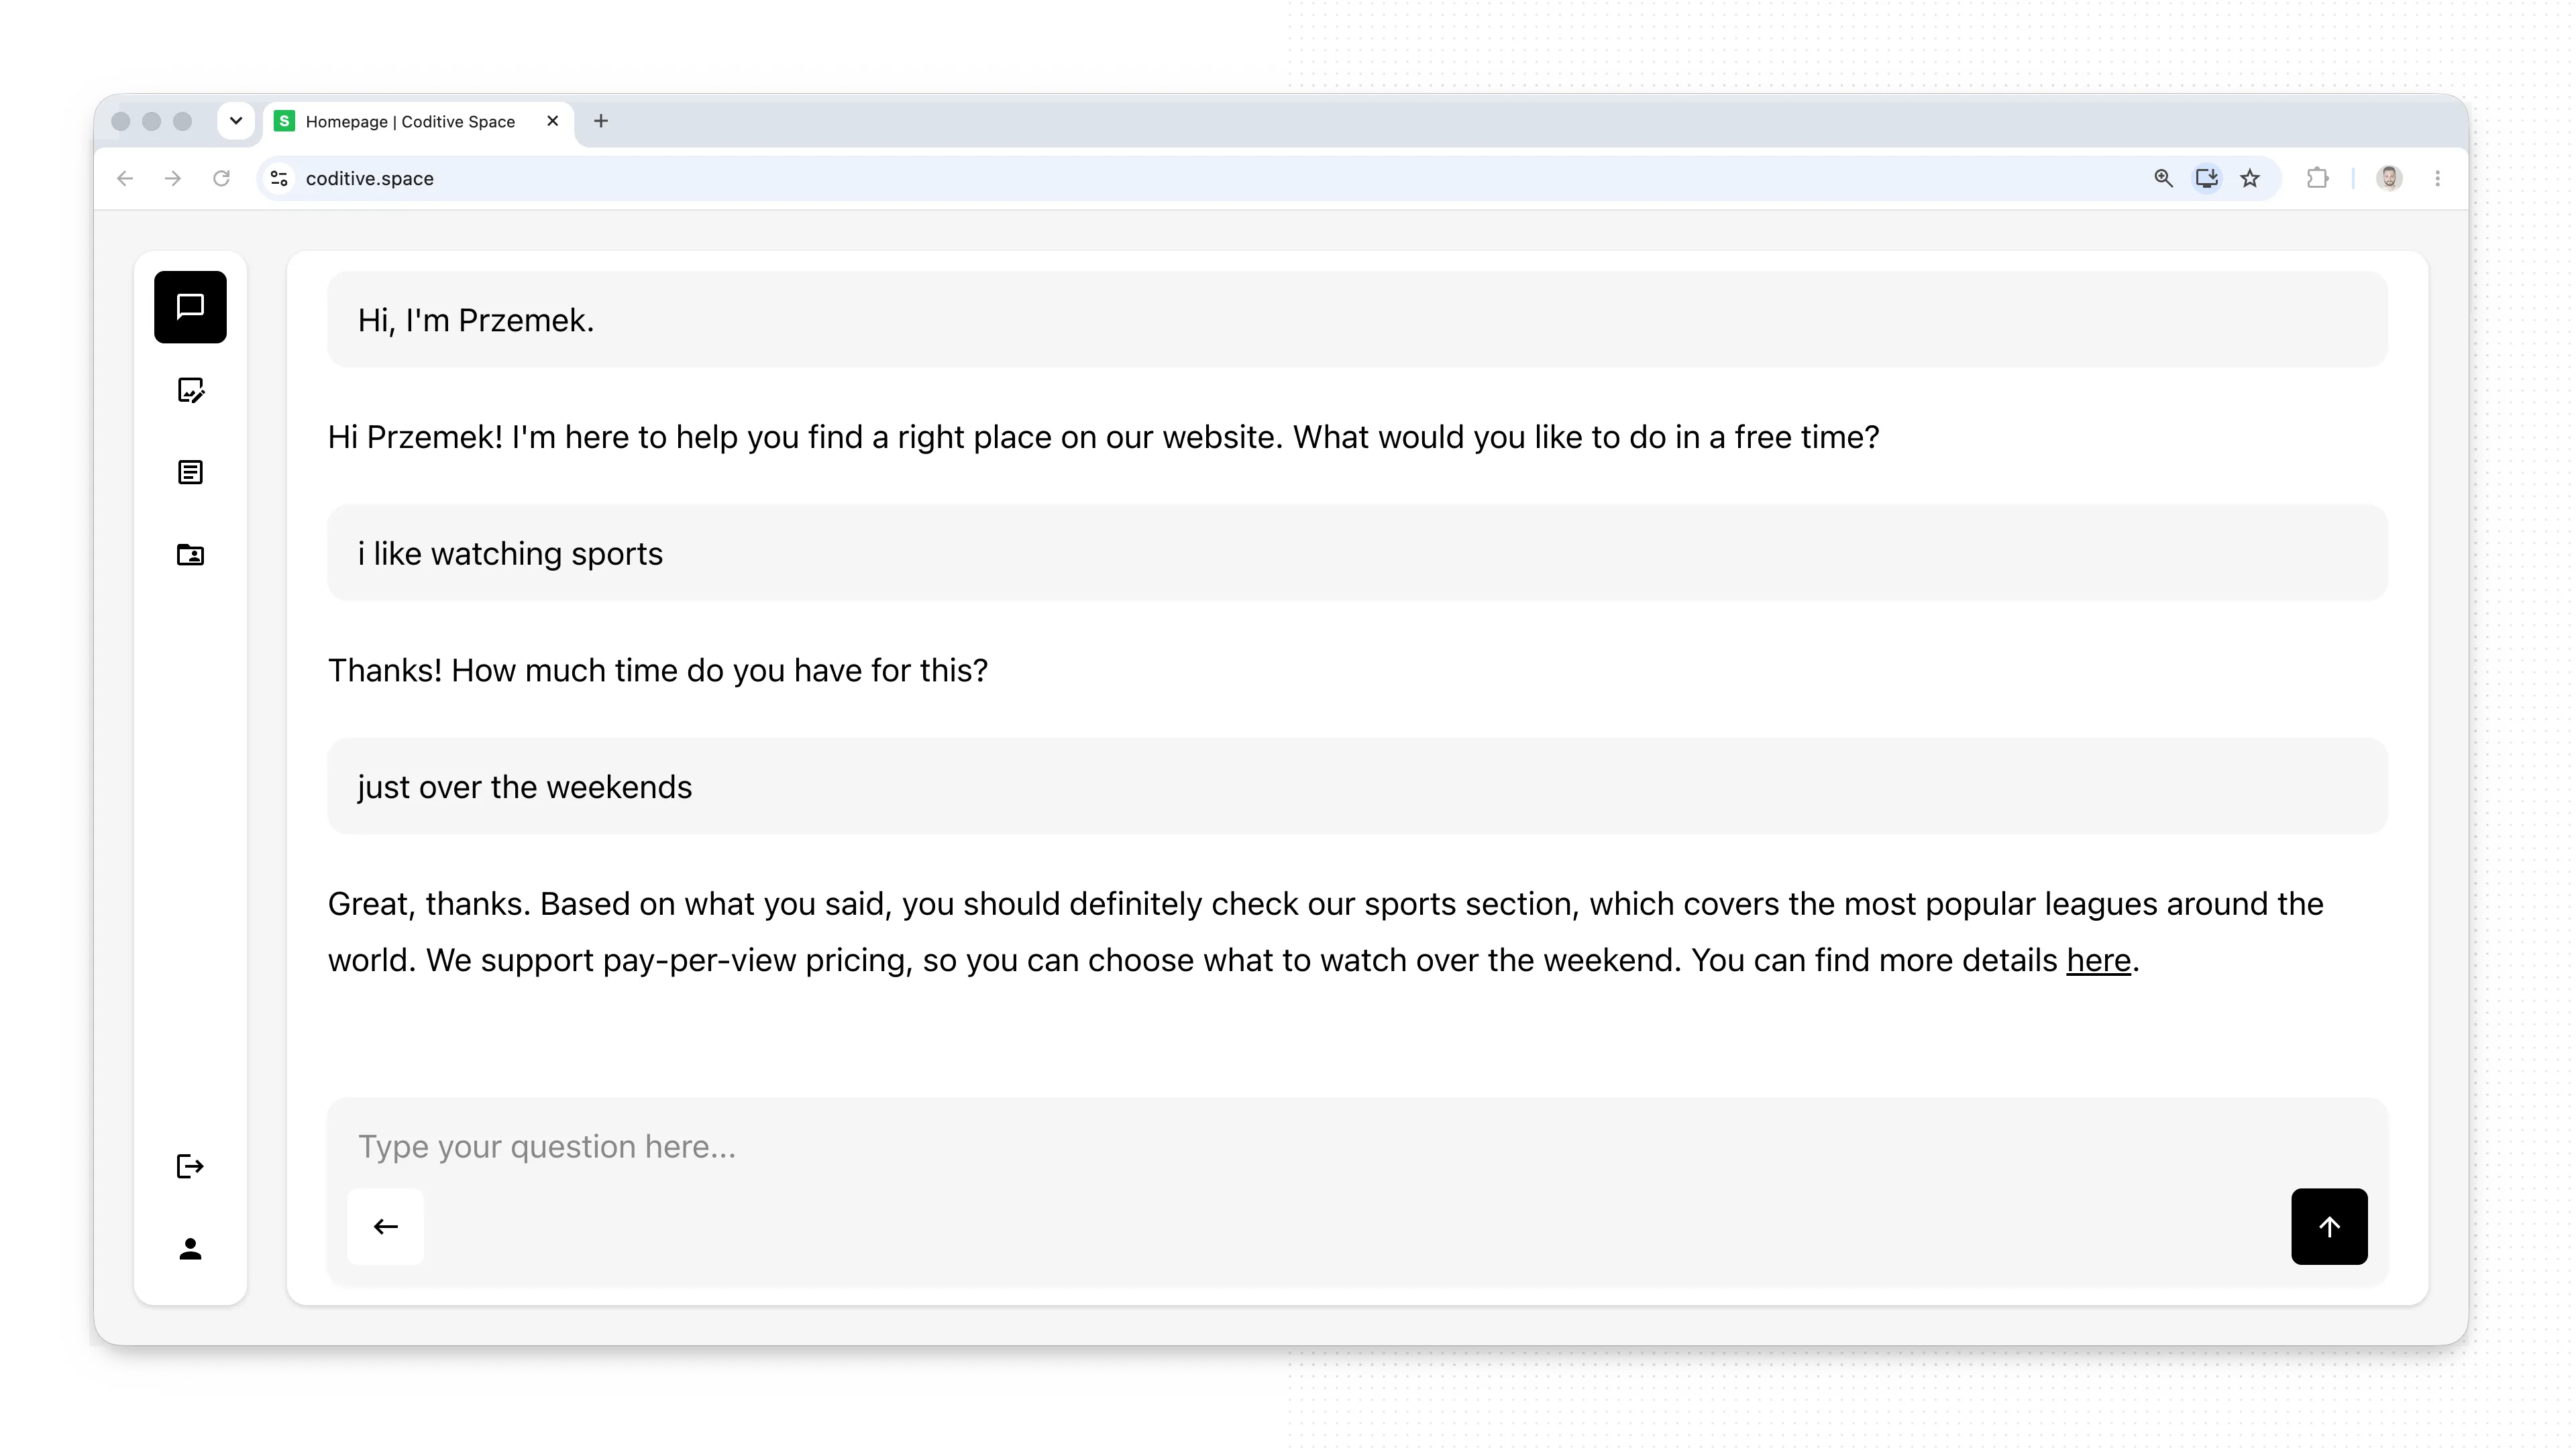
After we built our own internal tool, another client came to us and asked whether we could build a user discovery component for their website. It had to be a simple chat component that asks users questions and helps them find the right place on a page.
The other company had recommended a large stack, including the n8n automation platform. The client felt it was expensive, and we felt it was too much. As a tool, n8n shines when connecting several services or running multi-step workflows that non-developers need to maintain. None of that applied here.
After reviewing the requirements, it turned out that a simple chat component calling the OpenAI API directly from the page, much like the one we had built for ourselves, would be enough. And that’s what we recommended and then built.
It was cost-efficient because prepaid plans help avoid unexpected spending, all results stayed on a single infrastructure, and the client could manage the agent that talks with users directly in WordPress. So, once again, the tailored solution fit better.
What’s the takeaway?
We ended up with a chat component that lets us talk to OpenAI models. The user sends a prompt; it gets pushed into a messages array that then goes through a few system layers to OpenAI, and the response comes back. Then the cycle starts again.
This example shows how quickly you can build useful agentic features on a website without dragging a mountain of infrastructure behind it. We added budget to the OpenAI account, built a simple component, added a few clear rules for the conversation, and shipped it. The same $5 balance we loaded months ago still covered the use case. Sometimes, the elegant solution is the one that does less.

If you want help building a chat flow like this or want to cut AI costs without overbuilding the whole thing, check our AI services description or contact our team through the form, and Paweł or I will get back to you as soon as possible. We will help you.
If you found this topic helpful, don’t forget to give the YouTube video a thumbs-up. If you think it could be useful for others, feel free to share it. And for more content like this, please subscribe to our channel and check out our LinkedIn, Instagram and website. I’ll add the links to the video description.